
Getting started
Install
Section titled “Install”Download the latest installer from Releases. The installed app keeps itself up to date (Updates).
- Windows:
Periskopos-Setup-<version>-x64.exe. The installer is unsigned, so SmartScreen says “unknown publisher”: choose More info, then Run anyway. - macOS (from 0.3.5):
Periskopos-macOS-<version>-arm64.dmgfor Apple silicon,-x64.dmgfor Intel. The app is unsigned, so the first time macOS won’t open it: choose Done, then Open Anyway in System Settings → Privacy & Security. Unsigned, it can’t update itself: it tells you when there’s a new version and opens the download. - Linux (from 0.3.5):
Periskopos-<version>-x86_64.AppImage. Make it executable (chmod +x), then run it; it updates itself.
Older releases are Windows only; on macOS or Linux, you can also run it from source.
Your first app
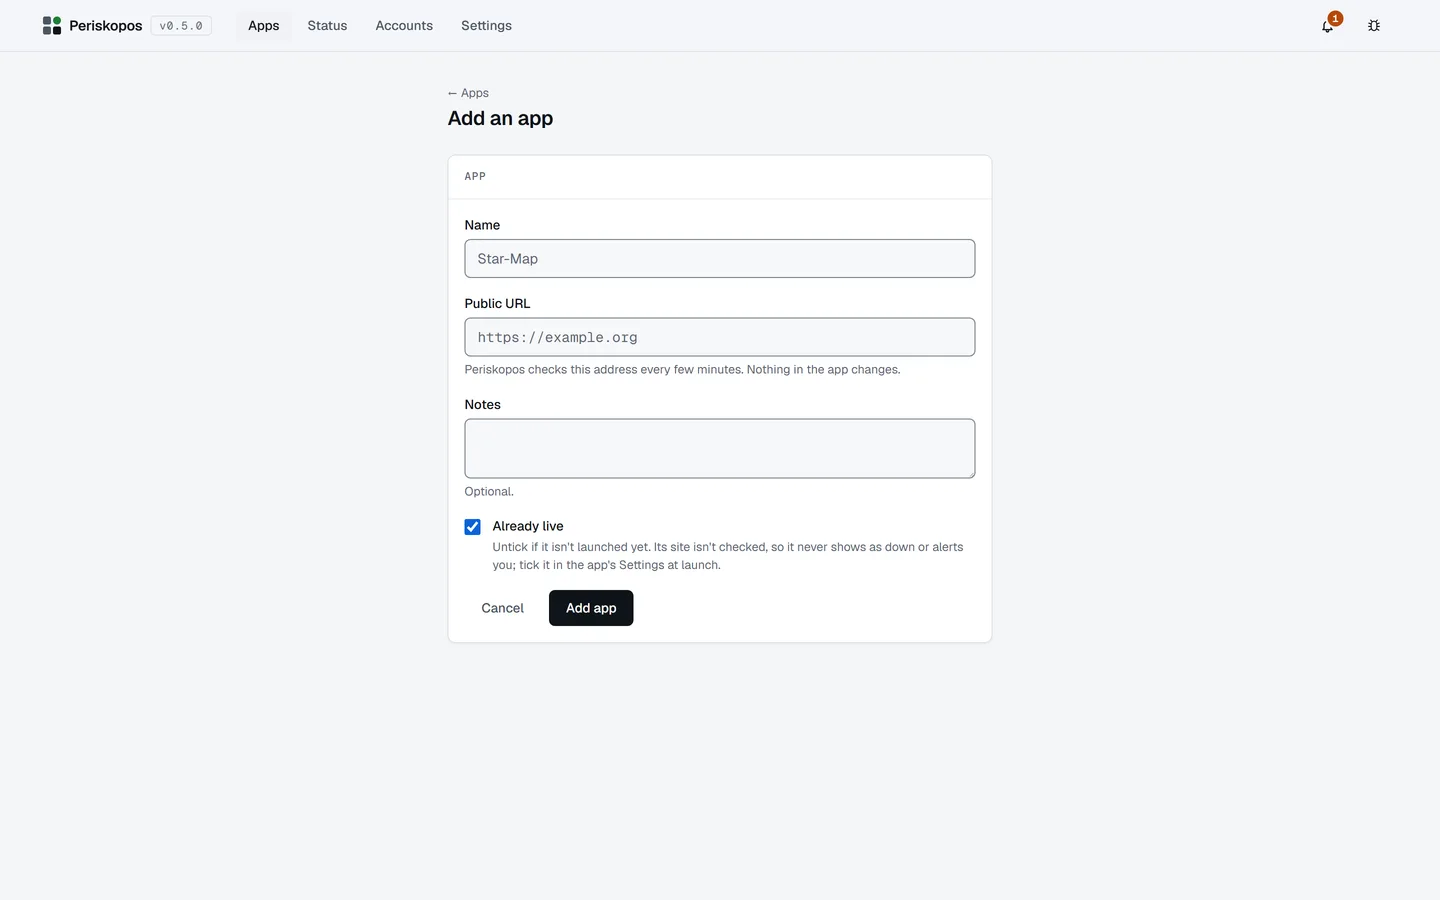
Section titled “Your first app”- Open Periskopos and add your first app from its address. Its site, certificate, domain and configuration are checked at once, before any account is connected.
- On Accounts, choose Connect an account and paste a key for a service you use. The setup lists the permissions it needs; so does Providers.
- On the app’s page, Get more from this app suggests what each connected account can add, connects the obvious ones in one click, and lets you pick when a few are named like the app (more).
Keys are saved to .env.local in your profile’s Periskopos folder, never in
the database, a backup or the browser. See Keys.
- Turn on notifications on your phone.
- Switch on Start at login in the tray menu, so it’s always watching (the desktop app).
- Connect an AI assistant.